
You might have heard of DevOps if you have been working with C# or any Microsoft-related programming language. Azure DevOps gives us an extensive set of tools to improve our productivity. Think about a GIT repository, agile boards, pipelines, and much more. But did you know you can use Azure DevOps to create a private NuGet repository?
Things you should know
The goal of this article is not to explain Azure DevOps but to show you how you can store and retrieve your own NuGet packages to and from your Azure DevOps organization. This is also not explaining how to create these NuGet packages.
After this article you are
- Able to connect to a feed in Azure DevOps
- Upload a NuGet package to the feed
- Retrieve and install a NuGet package in a C# project
Table Of Contents
But… Why use Azure DevOps?
NuGet has been around for a long time. The idea behind it is pretty simple: Share pieces of code in packages over the internet with others. This basic thing has grown to be one of the larger code package distributions on the Internet.
But the downside is that NuGet is open to all. When you upload your package to NuGet, everyone can use it. And in some cases, it’s not really a smart thing to do.
Story Time!
In 2014 I was working at a big company that had one big website. The website had different parts that were maintained by different teams: API, checkout, product information, security, web application, and design. To avoid that other teams would change the code of other teams, each team distributed a NuGet package. The web application was the one that would receive all the packages and made sure everything was built into one project.

Although this worked really well, I would do things differently now.
The problem with this scenario is that the NuGet packages would be stored on nuget.org. Which is open and has no private repositories. Our code had somewhat sensitive information. Sure, the code was compiled into DLLs, but you can reverse-engineer them.
IN 2014 there was no Azure DevOps, so I had to download the NuGet.org website, which was a package (irony) I could install into an ASP.NET website and add some authentication to it. We hosted this application in Azure Cloud.
If I had such a scenario now, in 2023, I would use Azure DevOps Artifacts.
Setting Up Azure DevOps Artifacts
Azure Artifacts is a place in Azure DevOps that allows developers to share their code from a central location. It is possible to upload packages and retrieve them from Visual Studio, for example. But Artifacts does not only support NuGet packages. You can also upload npm, Python, Maven, and Universal Packages.
Getting Started
You can’t really set up Artifacts. The only thing I really want to suggest is to create a project in your Azure DevOps organization that is private.
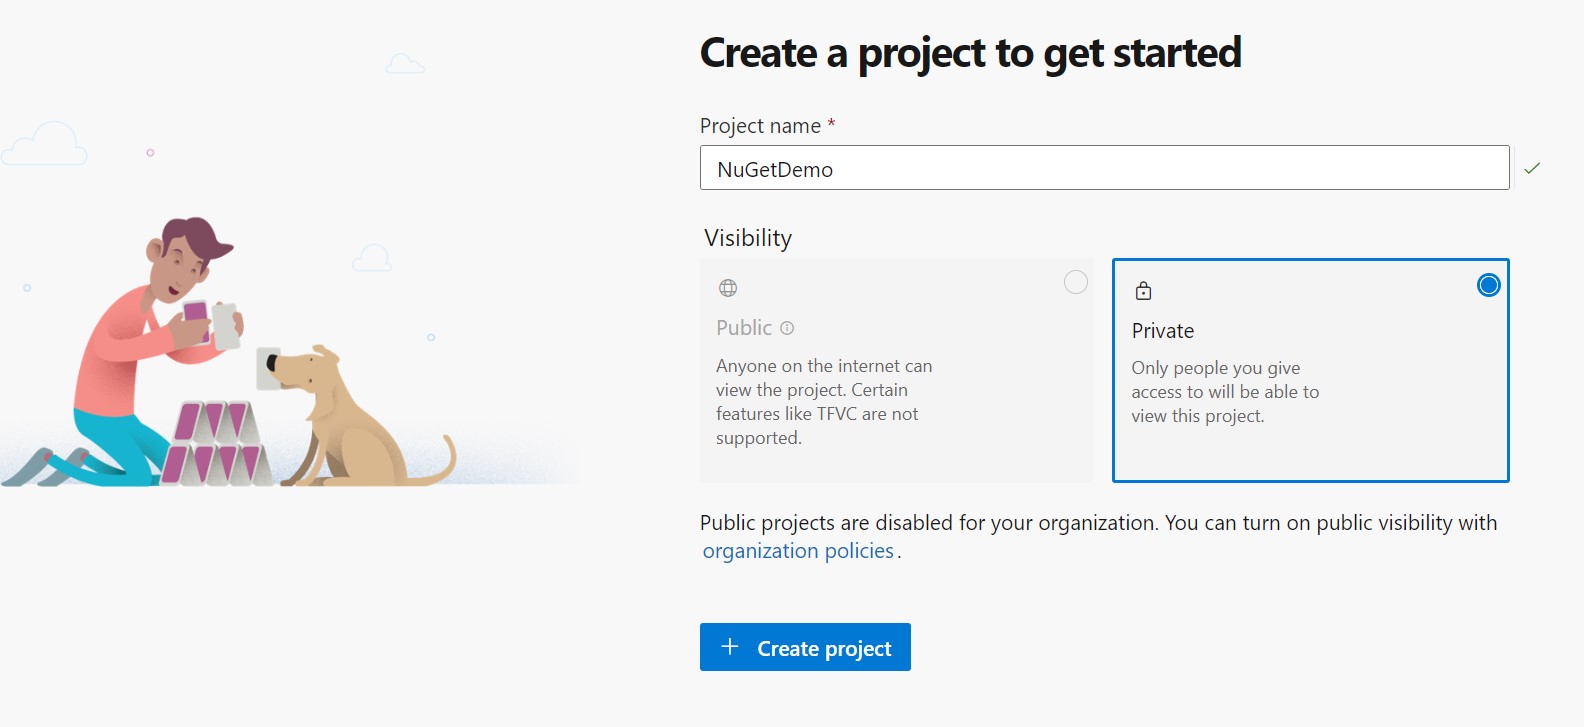
This way you keep your feed in Artifacts secure. Now that your project is ready, you see some menu items on the left side of the application. Choose Artifacts.

Creating Feed
On top of this screen, you see a dropdown with “infoklc”. These are the feeds. You can create a new one if you want to separate different feeds. Just click on the button “Create Feed”. A window will open and you have some options.

The first one is the name. Give it a meaningful name that fits the project or feed. The second one is the Visibility. This means that you can set who has access to this feed. Infoklc is the project, so I can create a feed that is only visible to members of the project. But if I have multiple projects with different members, I can share this feed with all projects and members. Or I can select specific people if it is really specific.
The section Upstream sources means that the feed can search in known sources, like NuGet. If you search the feed in Visual Studio (will be showing this later), the feed also shows you results of nuget.org for example.
The scope has all the do with security and visibility. There are some big differences in the scopes. You can find the differences here.
I am going to create a feed called DemoFeed, uncheck the Include packages from common public sources, and let other settings on default. After creation you will see the same screen again, but with the newly created feed selected in the dropdown.
Connecting To A Feed
When you press the button Connect to Feed you will be presented with a list of possible feeds, divided into NuGet, npm, Maven, Python, and universal. Each feed has different ways to connect. I want to connect to the NuGet feed, so I need to determine if I want to use dotnet, NuGet.exe, or Visual Studio to connect to the feed. I select Visual Studio.

If you were expecting some sort of sophisticated system to connect to a feed, sorry. This is just a manual on how you can configure Visual Studio to connect to your newly made feed.
This is actually all we can do for now in DevOps. We have set up a feed and now we rely on other apps, like Visual Studio.
Configuring Visual Studio
This part is pretty simple. All you have to do is open Visual Studio. Then go to Tools -> NuGet Package Manager -> Settings. Then select Package Sources. Here you can set up the sources (or feeds) you want to use. You can have more than one feed. By default, you already have the nuget.org and Microsoft Visual Studio Offline Packages.
To add your new feed, from the Azure DevOps Artifacts, press the green plus, copy the source from Azure DevOps, and paste it into the Source field of Visual Studio. Give it a good name.

Don’t forget to press the Update button!
When you open the NuGet Package Manager you can select your source in the right top corner. You will see the new feed.

It will now show packages. Let’s change this.
Uploading Package
I have created a very simple package. It contains one class with some code to concatenate strings, nothing special at all. Sadly, Azure DevOps Artifacts does not have an upload button. So we need to figure out some other way to upload packages. Sadly this isn’t as easy as you might think. We need to add permission to upload packages through the dotnet.exe application.
Publish Package
We need to use dotnet.exe to upload packages. Back at the Artifacts in Azure DevOps. Select your feed again and press Connect to Feed. Next, select dotnet. This looks a bit different than Visual Studio, but we need the last chapter: Publish packages. Uploading is called publishing. Copy this command line.
Next, you need to find the directory where the NuGet package we want to publish, is located. When found, open a command line on this location. Now paste the command line you just copied and change it accordingly:
dotnet nuget push StringLib.1.0.0.nupkg --api-key qz2jga8pl3dvn2akksyquwcs9ygggg4exypy3bhxy6w6x6 --source https://pkgs.dev.azure.com/infoklc/NuGetDemo/_packaging/DemoFeed/nuget/v3/index.json
You already have the dotnet.exe since it comes with the installation of Visual Studio and the .Net SDK. But this will give an error:
Response status code does not indicate success: 401 (Unauthorized).
This sounds logical since you are trying to publish to a secure feed. To fix this we need to execute a credential provider just one time on our system.
Getting Access
On the page of your Connect to feed, with the dotnet selected, there is a button Get the tools. Click this one and you see two steps. You can skip the first step because you already have the .NET Core SDK. But the second step is important. Click this one.

This will bring you to a GitHub repository managed by Microsoft. Download the code to your hard drive. I’ll wait…
Extract the zip you just downloaded and open PowerShell. Go to the folder that you just extracted and go to the folder Helpers. Execute the ./installcredprovider.ps1. If you are unlucky, like me, you will get an error:
installcredprovider.ps1 is not digitally signed. You cannot run this script on the current system. For more information about running scripts and setting execution policy, see about_Execution_Policies at https:/go.microsoft.com/fwlink/?LinkID=135170.
This means you don’t have the rights to execute this script since it wants to place files in a system directory or profile directory. We need to give it access first.
(just remember: This has to be done one time)
Allowing PowerShell
Luckily this is an easy one because I am just going to tell you which command you need to execute. While you are still in the PowerShell command, execute the following command:
Set-ExecutionPolicy -Scope Process -ExecutionPolicy Bypass
After executing this you won’t see a thing, but stuff happened… Trust me. You can now execute PowerShell commands.
Note: If you are on a corporate laptop/desktop, this might not work. Simply because your IT department might have disabled changing the execution policy. You might want to ask your IT person to lift it or set the policy for you. Nothing I can do from here if that happens.
Let’s Continue
Execute the ./installcredprovider.ps1 again. It will now install the Credential Provider on your system. Remember that you need to do this again if you switch to a different system… ONLY if you want to publish.
Let’s try to publish the package again. Still an error about an unauthorized attempt! We do have the credential provider installed, but we need to log in. We can’t log in using the command line, but we can make it work with a login system.
Execute your command to publish the package, but add –interactive behind it:
dotnet nuget push StringLib.1.0.0.nupkg --api-key qz2jga8pl3dvn2akksyquwcs9ygggg4exypy3bhxy6w6x6 --source https://pkgs.dev.azure.com/infoklc/NuGetDemo/_packaging/DemoFeed/nuget/v3/index.json --interactive
If you run it now, dotnet.exe will pause.
To sign in, use a web browser to open the page https://microsoft.com/devicelogin and enter the code GV6PVEHUA to authenticate.
Don’t wait too long, but open the browser and paste in the code. Next, you need to log in with an account that has access to the feed (aka your project). Fill in the credentials and accept that you are trying to login into Artifacts. It could take some seconds, but eventually, dotnet.exe will continue and your package will be uploaded.
Using The Feed
Refreshing the feed page at Azure DevOps Artifacts now shows the package. Awesome!

Let’s look at Visual Studio. Maybe the package is visible there too. I am using a console application created in the C# Bootcamp and now I want to install the StringLib package into that console application.

And there it is. I haven’t added any relevant information, so the description and stuff are just default values. But I can now install it and use the contents of the package.
Conclusion
To be honest… Publishing a package in the feed is a bit of a thing and could be a real turn-off when you are doing this for the first time. Especially the –interactive wasn’t documented that well, so it took some time for me to get it working.
But I have a feed up and running. I use pipelines a lot in Azure DevOps and let a pipeline publish my packages. This way I don’t have to set up my system with stuff I don’t need that much. Accessing the feed in Visual Studio doesn’t need anything special.
Setting up a feed is pretty easy. Just create a project, create a feed in Artifacts, set some basic settings, and you are done… So I really don’t get why the publish isn’t made easier. Anyway… A private NuGet feed for you and you alone.


